A DIY GUIDE TO FILM MAKING
How to make your own videos!
Here are some basic filming tips that will help you create and edit your videos in the best possible conditions and avoid a few common mistakes.
1. PREPARATION
PREPARING YOUR SPEECH
The clearer your speech is to yourself, the clearer it will be to others. The better prepared you are, the easier it will be to edit your video. So, before you start recording, remember to prepare by deciding on:
• The main subject of the video: Your guideline
• Main points: For each idea, try to find a summary formula, an argument, and an example.
• Final length of the video: It may be necessary to rehearse beforehand, stopwatch in hand, to ensure that your timing is right.
• Target audience: Adapt your writing and delivery to suit your audience.
BRINGING YOUR IDEAS TO LIFE
Sharing your ideas through video means translating your thoughts into visuals, voiceovers, and sometimes adding sound effects, text, and extra images.
You need to find the right method that best aligns with your vision. To do this you need to decide on:
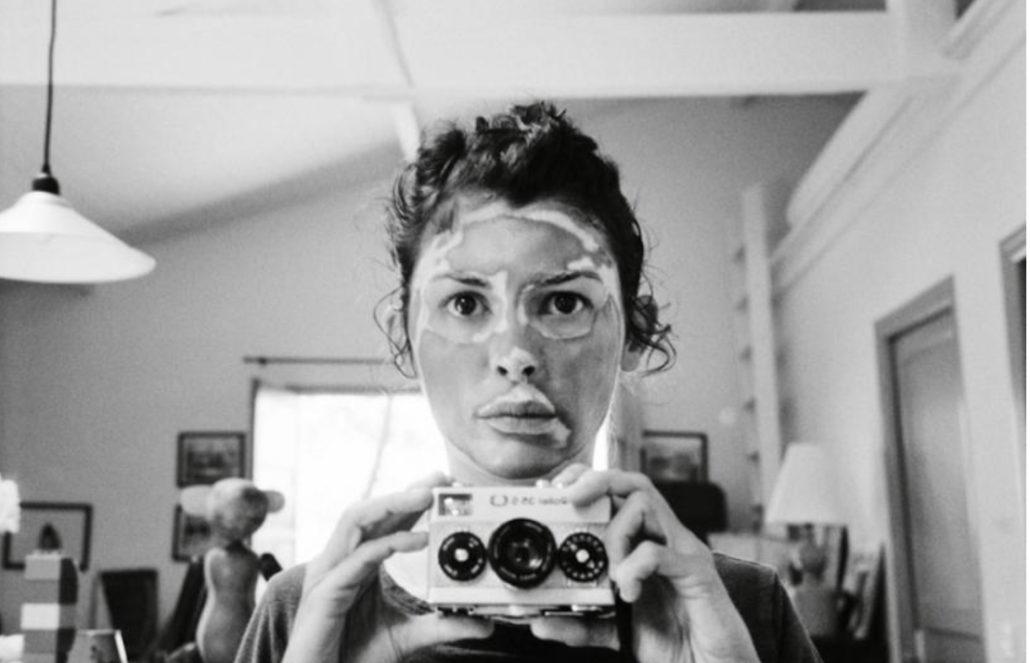 Self-portrait, Audrey Tautou
FILMING YOURSELF:
If you choose to film yourself in front of the camera, there are several important details to consider:
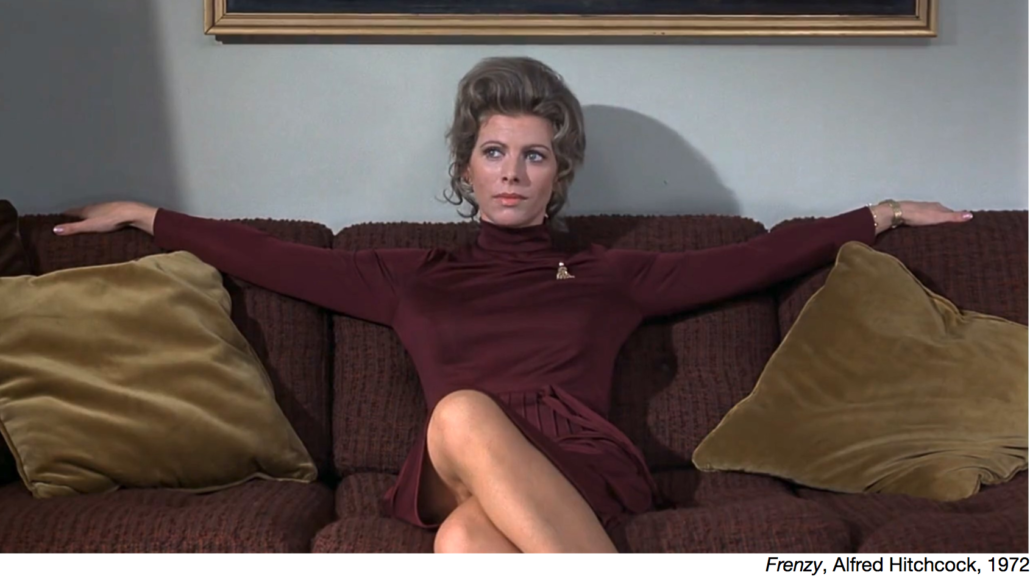
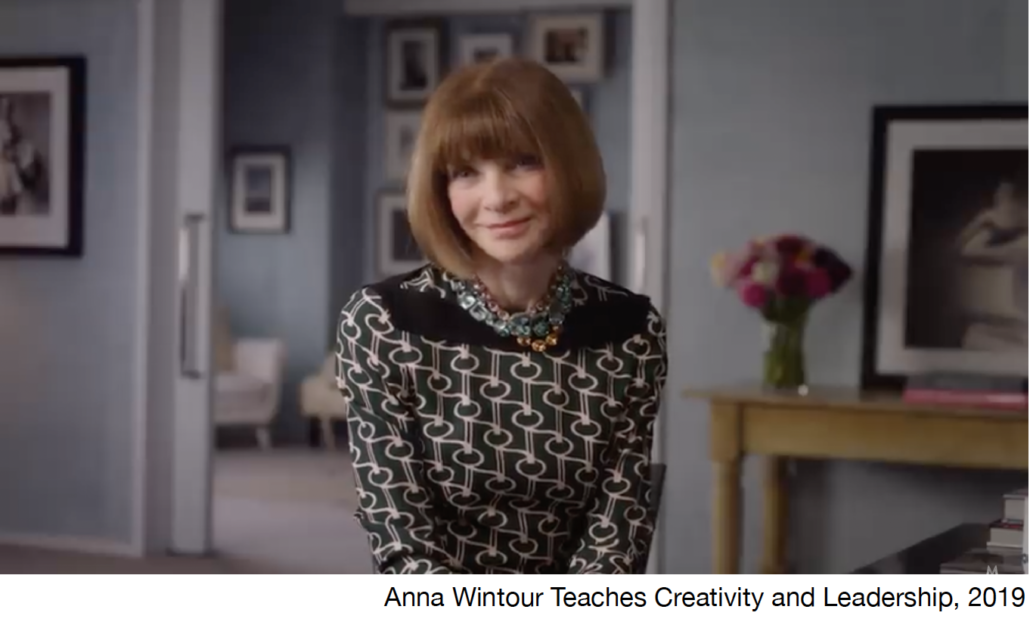
- your character: Think beforehand about the image you want to project. Depending on the subject of your video and above all your personality, focus on your clothing, your make-up, your hairstyle, gestures, and overall appearance. In short, anything that you feel contributes to your character. No pressure here. Just be yourself!
- your vision: Some people need more words than others to make themselves understood, while others rely on the text, images, sounds or drawings. With this in mind, prepare in advance a document with all the elements you want to include in the video. Note, however, that here again, clarity and readability must come first, and remember: “a picture is worth a thousand words.”
- your voice: For those whose communication relies primarily on their voice, it’s a crucial to work on your flow, pronunciation, and tone. Your tone will make a significant difference. Whether it is light, authoritative or relaxed, the intonation of your voice, tells the audience not only your mood, but also your attitude and if you have any left – your sense of humor. Obviously its boring to listen to a slow, monotone voice, rather than a fast and sing-songy one. It’s all about finding the right balance. In any case, breathe and smile, (let us see it and hear it).

ALTERNATIVES TO VIDEO SELF-PORTRAITS:
If you feel that your message doesn’t require you to be on camera, there are other solutions available.
- The diverted self-portrait: Discuss team building by filming the plants in your garden, explore the art of retailing with your cats, or offer crisis management advice by documenting the process of making pottery – all these options/ideas allow you to express your creativity and your message in a different way.
- The off-screen: Video isn’t the only way to share a message, consider using GIFs, podcasts, texts, illustrations etc… Look, listen and try different ways that best suit your personality.
2. THE SHOOTING
THE DECOR
Once you’ve prepared the content of your video it’s time to shoot it. Before you set up your smartphone or camera and start recording, it’s vital to choose the right setting.
DECOR HELPS ATTRACT ATTENTION:
To keep your message clear, choose a setting that makes you stand out, therefore remember to:
- Choose a calm location without too much movement in the background to avoid distracting the viewer.
- Select a spacious location to give your image room to breathe and allow for overlaying images or text if necessary.
The most important thing here is that your torso stands out clearly from the background. Avoid overcrowded spaces and favor bare or uncluttered walls, a landscape, or a plant background.
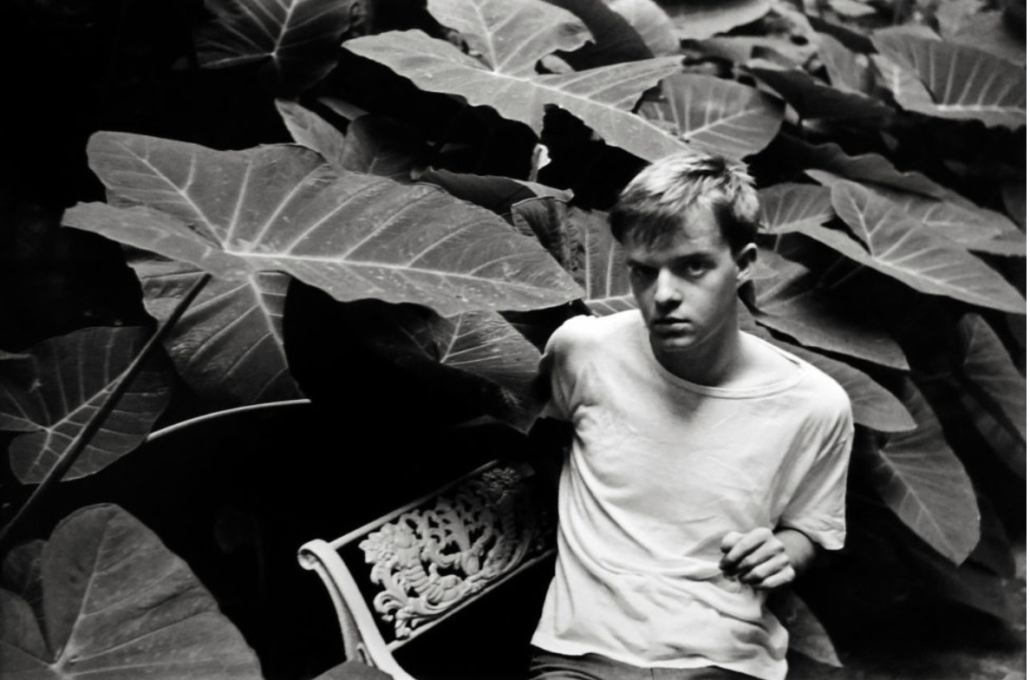 Truman Capote by Henri Cartier Bresson, 1947
- The decor contributes to the message:
Whether indoors, outdoors, on your terrace or in your living room, the choice of the decor contributes to the meaning of your video.
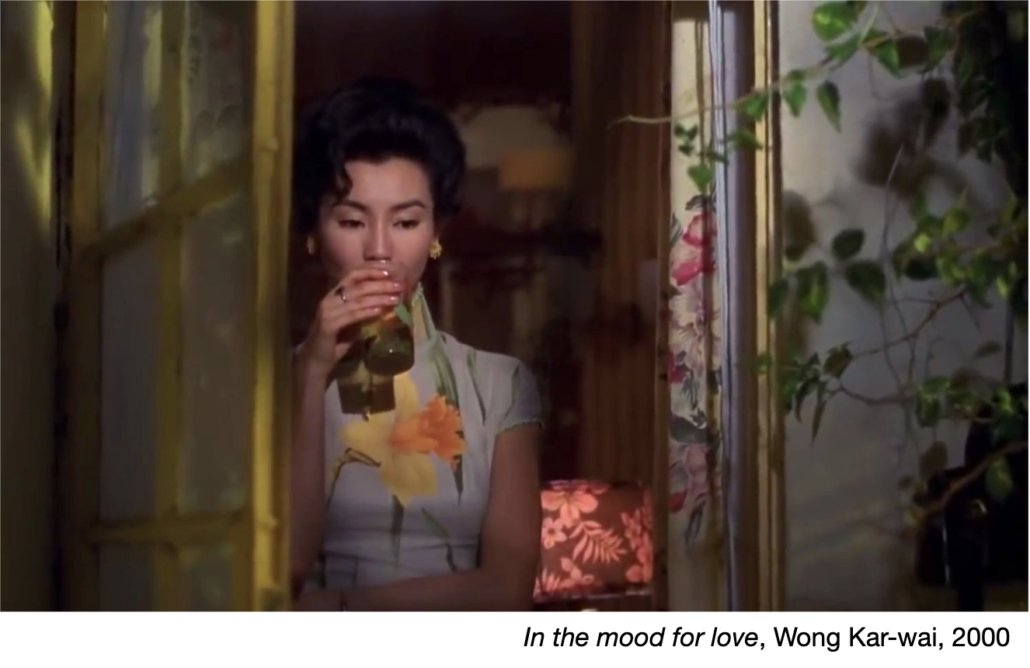
In this case, remember to: - Shoot in a clearly identifiable setting: If you choose to film in a particular place (a bedroom, a living room, or in a garden), rather than a neutral location (e.g. in front of a wall), make the space recognizable by playing with colors, patterns, and accessories.
- Carefully select the elements of the set that will appear in the frame: the symbolism of objects is especially important when your video consists of a single shot. So, remember to choose your accessories with care (furniture, paintings, books, plants, statuettes, clocks, etc.).
- Offer perspective: whether it’s an opening onto another room, an exterior landscape (through a window) or a photograph on the wall, find a way to give depth to your image (real or symbolic).
PRODUCTION
To create a video that’s easy to read and edit, follow these basic principles:
THE FRAME:
Once you’ve found the setting, all that remains is to choose the location for the main subject… you! Here are few points to remember:
- Place the smartphone or camera on a stable surface at chest height. If you have a tripod, now’s the time to use it. If not, you’ll have to improvise with a stool, table, book, or computer so that your recording device is positioned facing you at a 90° angle. By using the straight lines in the room as a support (wall angles, table edges or, picture frames …), ensure that your image remains level (it should not be tilted upwards or downwards, or to the left or to the right).
- Choose your placement within the frame: If you’re sitting down to speak, choose a light seat (a stool for example) and position yourself at least 1.5 m from the camera. Face the camera, (not necessarily in the center of the frame), but make sure you leave enough space around you to give your image some air and allow for the insertion of other images or text if needed.
- Looking at the camera: Whatever position you have in the frame, remember that you’re talking to an audience. So always look at the camera while speaking. To help you with this, place a small white or red dot just above your phone’s camera.
LIGHT:
The best source of light is the sun. If it’s a sunny day, make the most of it. In any case, remember to:
- Clean your camera lens with a soft cloth.
- Keep other light sources out of the frame, don’t film while facing the sun, in front of a window, a see-through glass door, next to a lamp or any other interfering light source. Backlighting is not recommended.
- Use natural, soft light: if the sun is shining, take advantage of it by filming yourself close-up. You can position yourself near a window (but not directly in front of it). If you’re using lamps, avoid placing them too close to you, to prevent a harsh contrast.
- Add multiply light sources: if you feel that your image needs more light, don’t hesitate to add other additional light sources. In this case, make sure the lights don’t create shadows on you, and keep the background bright and well-lit.
SOUND:
In filming the quality of the sound is often neglected, to upgrade the quality of your video remember to:
- Choose a room isolated from noise: if you live in an area saturated with extraneous noise, select a place furthest from the street and designate a non-negotiable period of silence.For your recording to be a success, filming must take place in complete silence.
- Remember to articulate and breathe: your voice must be clear, and your delivery should be measured. Consider your audience by including pauses of 1 to 5 seconds between different sections. At the beginning and end of each recording, remember to leave 5 to 10 seconds of total silence. Drink plenty of water.
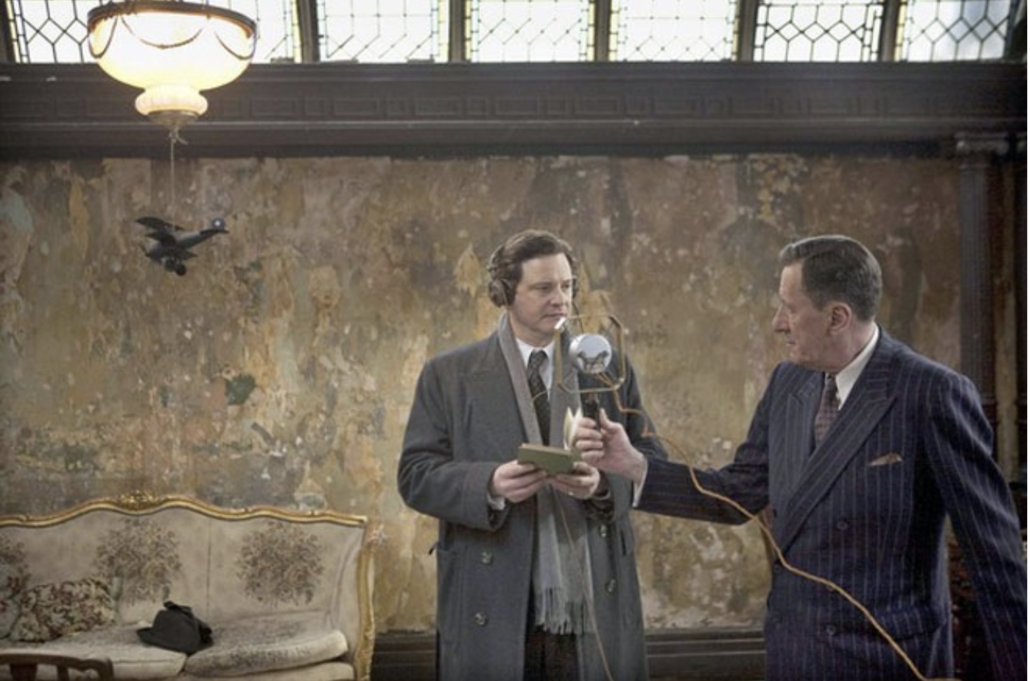 The King’s speech,Tom Hooper, 2010
THE RIGHT TAKE:
Filming can be a tricky task that demands focus and patience. It takes time and practice, especially when you are filming alone. If you’re not happy with your recording, stop and take a break, breathe, relax your muscles, and give it another try.
- Break it down: If recording everything in one take feels overwhelming, break it down into sections and record each part one by one. Just remember to keep your voice consistent to ensure that the whole video flows smoothly.
- Hire an assistant: it’s difficult to evaluate and do everything yourself. If you can, ask a friend or someone close to you to help.
3 . EDITING
Once you’ve completed your footage, make sure that you’ve recorded everything. Organize it all in a folder. This should include:
- Your video clips.
- Any images, text or sound you wish to include.
- A written description of your video (detailing the elements you wish to add for each part).
- To help with editing, try user-friendly software such as iMovie or Shotcut.
And if editing your video becomes too challenging, don’t hesitate to hire a professional.
Rodrigue de Ferluc

Leave a Reply
Want to join the discussion?Feel free to contribute!